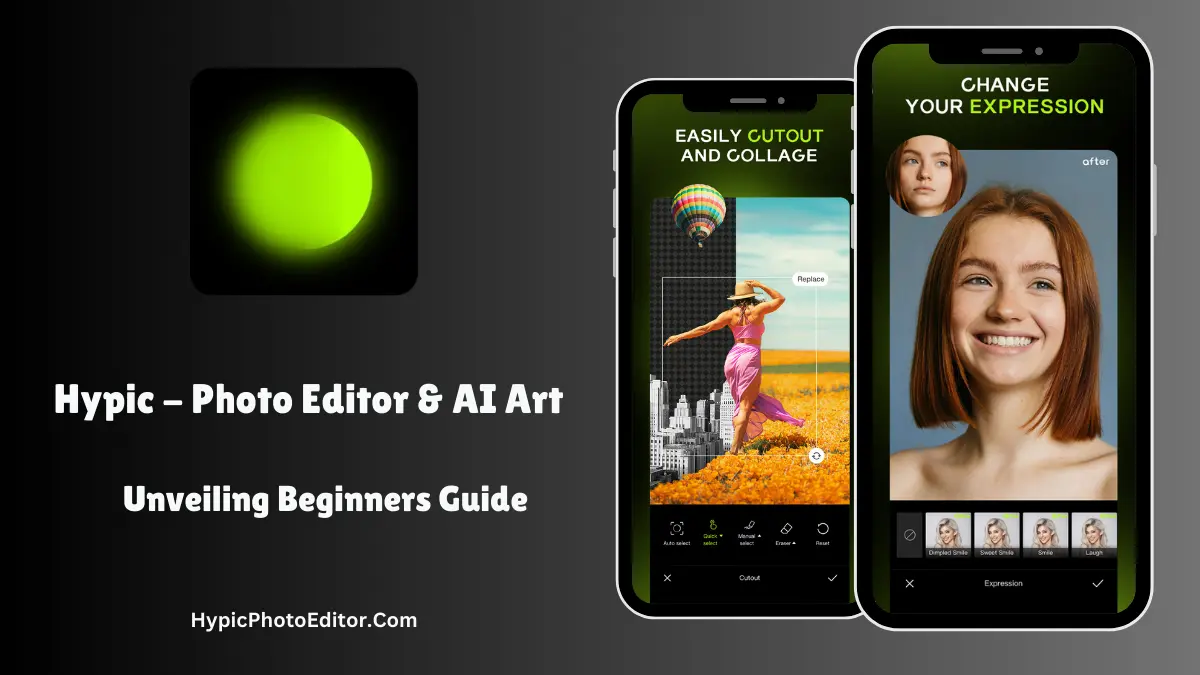
Hypic AI Photo Editor: Unveiling Beginners Guide In 2025
Have you downloaded the internet-trending Hypic Photo Editor for your mobile? But, don’t know how to use it? Then, don’t worry, you have landed on the right article, where you will get a beginner’s step-by-step guide to becoming professional in using this app and editing like a pro.
The Hypic AI Photo Editor – A Revolutionary App
Hypic is one of the most popular AI Photo Editor & AI Art Apps that is trending on social media platforms and also on YouTube because of its outstanding features. It is developed and published by the Bytedance company, which has already given Capcut to the world. Whether you are looking for an unwanted background remover, AI Photo background expander, photo quality enhancement, or AI Filters & effects, it has something for every type of user.
The Hypic Photo Editor has been downloaded over 10M+ times from the Google Play Store with a 4.7 rating. So, you can imagine its popularity among normal and professional users. It is crafted in a way so that you will get the most used AI-driven tools on the dashboard of the app, making it easy to use for beginners. There are many tools available in the Hypic app which require some basic skills and experience.
So, don’t worry, check out the authentic guide given below about how to use the Hypic app on your mobile and unleash your creativity at your fingertips.
Step-by-step Guide To Use Hypic AI Photo Editor 2025
The Hypic app offers diverse features and AI-driven tools, including AI Expand, Filters & Effects, one-click photo background remover, AI Photo quality enhancement, and much more. So, look below to explore the guide and learn from it to use the Free AI Photo Editor App like a professional.
1 – AI Photo Quality Enhancement
The AI Photo Quality Enhancement is one of the advanced tools available in the Hypic app where you can enhance your photo quality. Let’s get started.
- First of all, open the Hypic Photo Editor on your mobile.
- Tap on the “Select photo” button and choose one photo which you want to enhance.
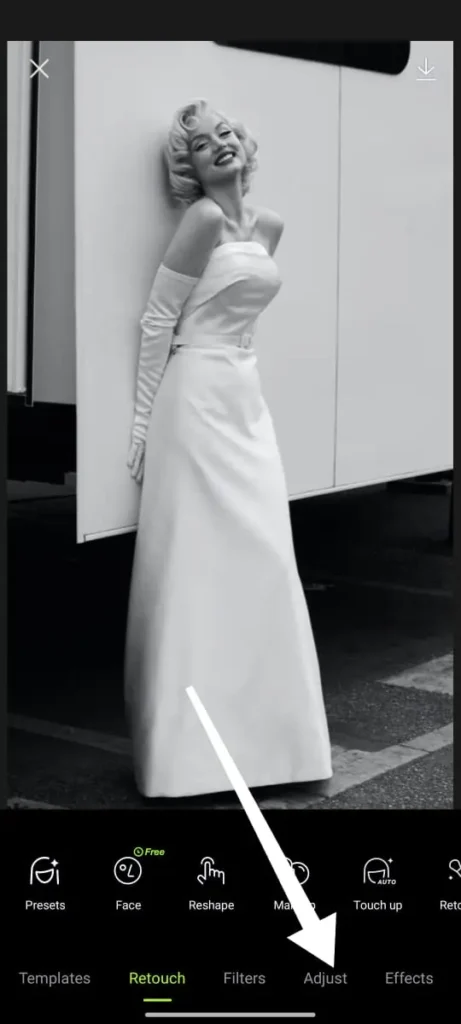
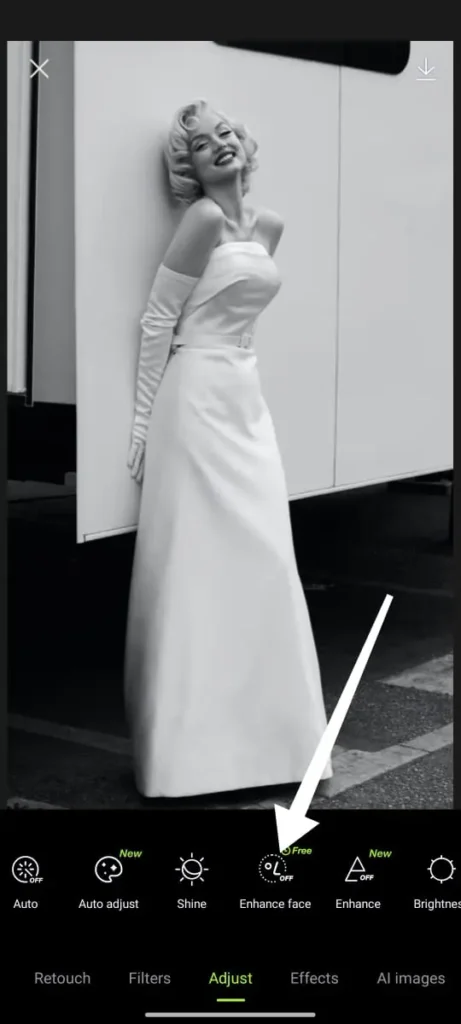
- After that, the Photo Editor tool will open, where you have to click on the “Adjust” option, then the “Enhance” tool.
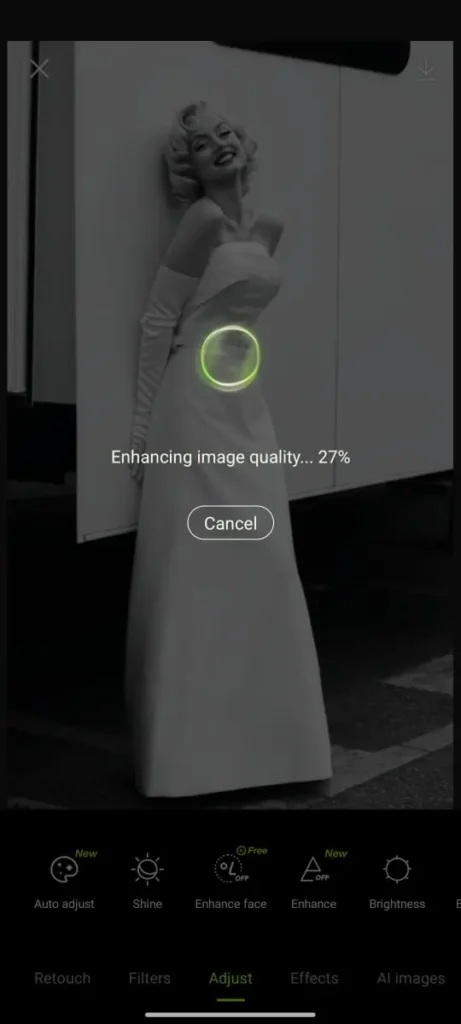
- Once you select it, Hypic will start enhancing your photo quality. Wait for its completion.
- After a few seconds, you will get outputs with enhanced quality.
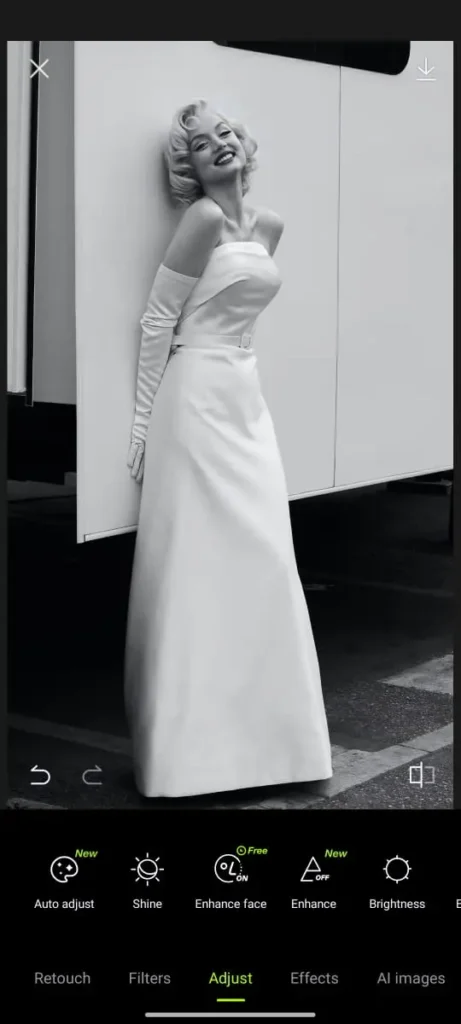
- Tap on the download button and save the photo in your offline gallery.
By following the above step-by-step guide, you can easily use Hypic’s free AI Photo Quality Enhancement tool to turn low-quality photos into high-quality ones for free.
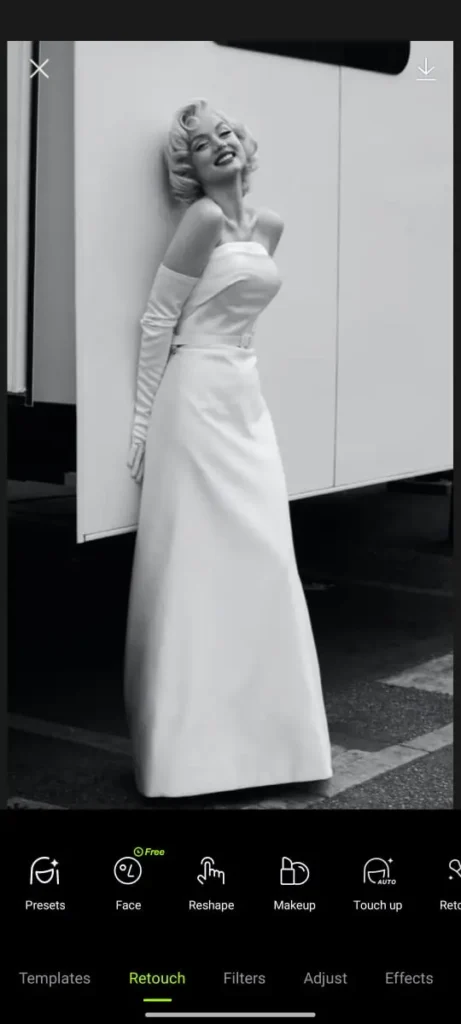
2 – Change Photo Styles
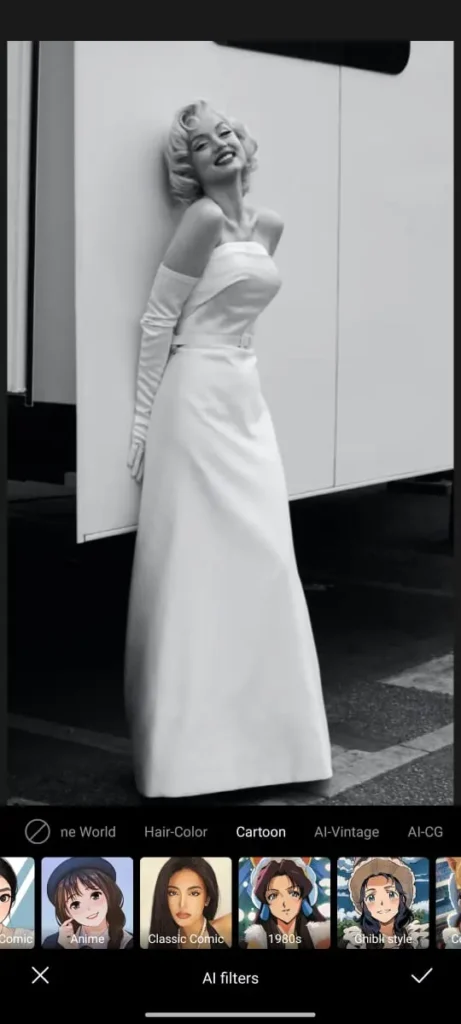
It is another marvelous feature of the Hypic Photo Editor through which you can easily turn your photos into stunning looks. Follow the guide below.
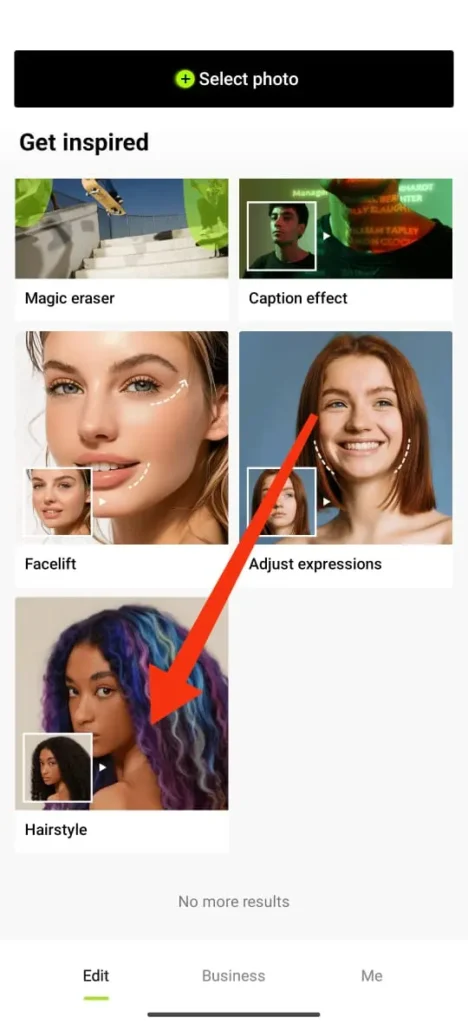
- Open your Hypic app on your mobile and access the dashboard.
- Once you access it, scroll down and tap on the “AI Hairstyles” tool.
- After that, select a photo, then choose one style as per your requirement.
- After that, it will start processing your inputs and will give you outputs with an enhanced look within a minute.
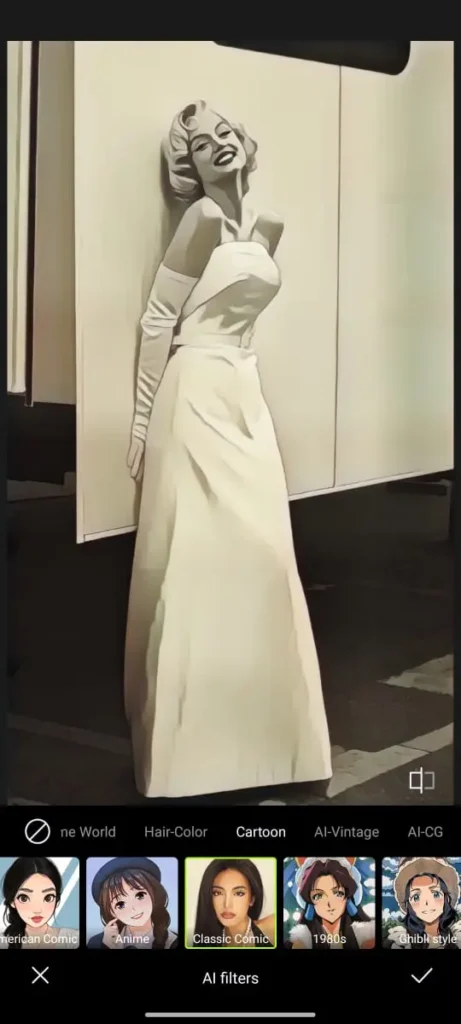
Once you get the generated photo by Hypic Photo Editor, check it. If you feel it is okay, then download it to share on social media platforms.
Tips For Maximizing Your Hypic AI Photo Editing
Conclusion
The Hypic – Photo Editor & AI Art App is the ultimate application for those who love to do photo editing and explore creativity with artificial intelligence tools. Whether you are a social media influencer, a YouTube content creator, or a normal enthusiast, there is always something for everyone. In this article, I have shared an authentic step-by-step guide through which you can easily use the Hypic app on your mobile and enhance photo quality like a professional for free.
The Hypic offers advanced paid tools in its free version, which makes it globally demanding. So, what are you waiting for? Download Hypic and unleash your photo editing creativity at your fingertips now.